
Photographs are the cheapest useful thing you can send a clinic, and the easiest to get wrong. Most of what arrives is too dark, too far away, or taken with lips in the way of the thing being asked about.
Ten minutes and a phone are enough to do it properly.
Quick Answer
Initially, Adil Dent Clinics may ask for clear photographs of your teeth, and a frontal photograph showing your teeth and your smile. Those two are what the first conversation is built on. Depending on your individual case and the treatment being considered, a 2D panoramic X-ray or a CBCT scan may also be requested — but photographs come first. They show position, shape, colour, the gum line and how much tooth shows when you smile. They cannot show what is under a filling or crown, the state of the bone, or gum measurements, so they inform a preliminary discussion rather than a diagnosis.
Key Takeaways
- Two requests to start: clear photographs of the teeth, and a frontal smile photograph.
- Light and focus matter more than your camera.
- Pull the lips out of the way; that is the single biggest improvement most people can make.
- Send the originals, not screenshots, and not photographs of a screen.
- A photograph starts the conversation. It does not end it.
The Photographs Worth Taking
| Shot | How to take it | What it helps with |
|---|---|---|
| Frontal smile | Natural smile, face square to the camera, eyes level | How much tooth shows, symmetry, the overall look you want changed |
| Front teeth, lips retracted | Teeth together, lips pulled clear with clean fingers or a spoon handle | Shape, length, colour, gaps, the gum line |
| Upper arch | Head tilted back, camera looking into the mouth | Which teeth are missing or restored, the shape of the arch |
| Lower arch | Head forward, camera looking down into the mouth | The same, for the lower teeth |
| Left and right side | Teeth together, pull the cheek gently away on that side | How the teeth meet, wear, existing crowns and bridges |
| The specific problem | Close, in focus, with something recognisable nearby for position | A broken tooth, a loose crown, a sore area, a discoloured tooth |
Six photographs is plenty. Two is enough to begin.
Five Rules That Fix Most Photographs
- Use daylight if you can. Face a window. Avoid a dim bathroom with a light directly overhead, which puts the teeth in shadow.
- Get the lips out of the way. Clean fingers at the corners of the mouth, or ask someone to help. This is the difference between a usable photograph and a picture of lips.
- Get closer, then focus. Tap the screen on the teeth so the phone focuses there and not on your nose. Do not zoom; move.
- Hold still. A blurred close-up is worse than a sharp mid-range shot.
- Check before sending. If you cannot see the detail you are asking about, nobody else will either.
A mirror plus the phone's rear camera usually beats the front camera, because the rear lens is better. If someone can take them for you, that is easier still.
Sending Them
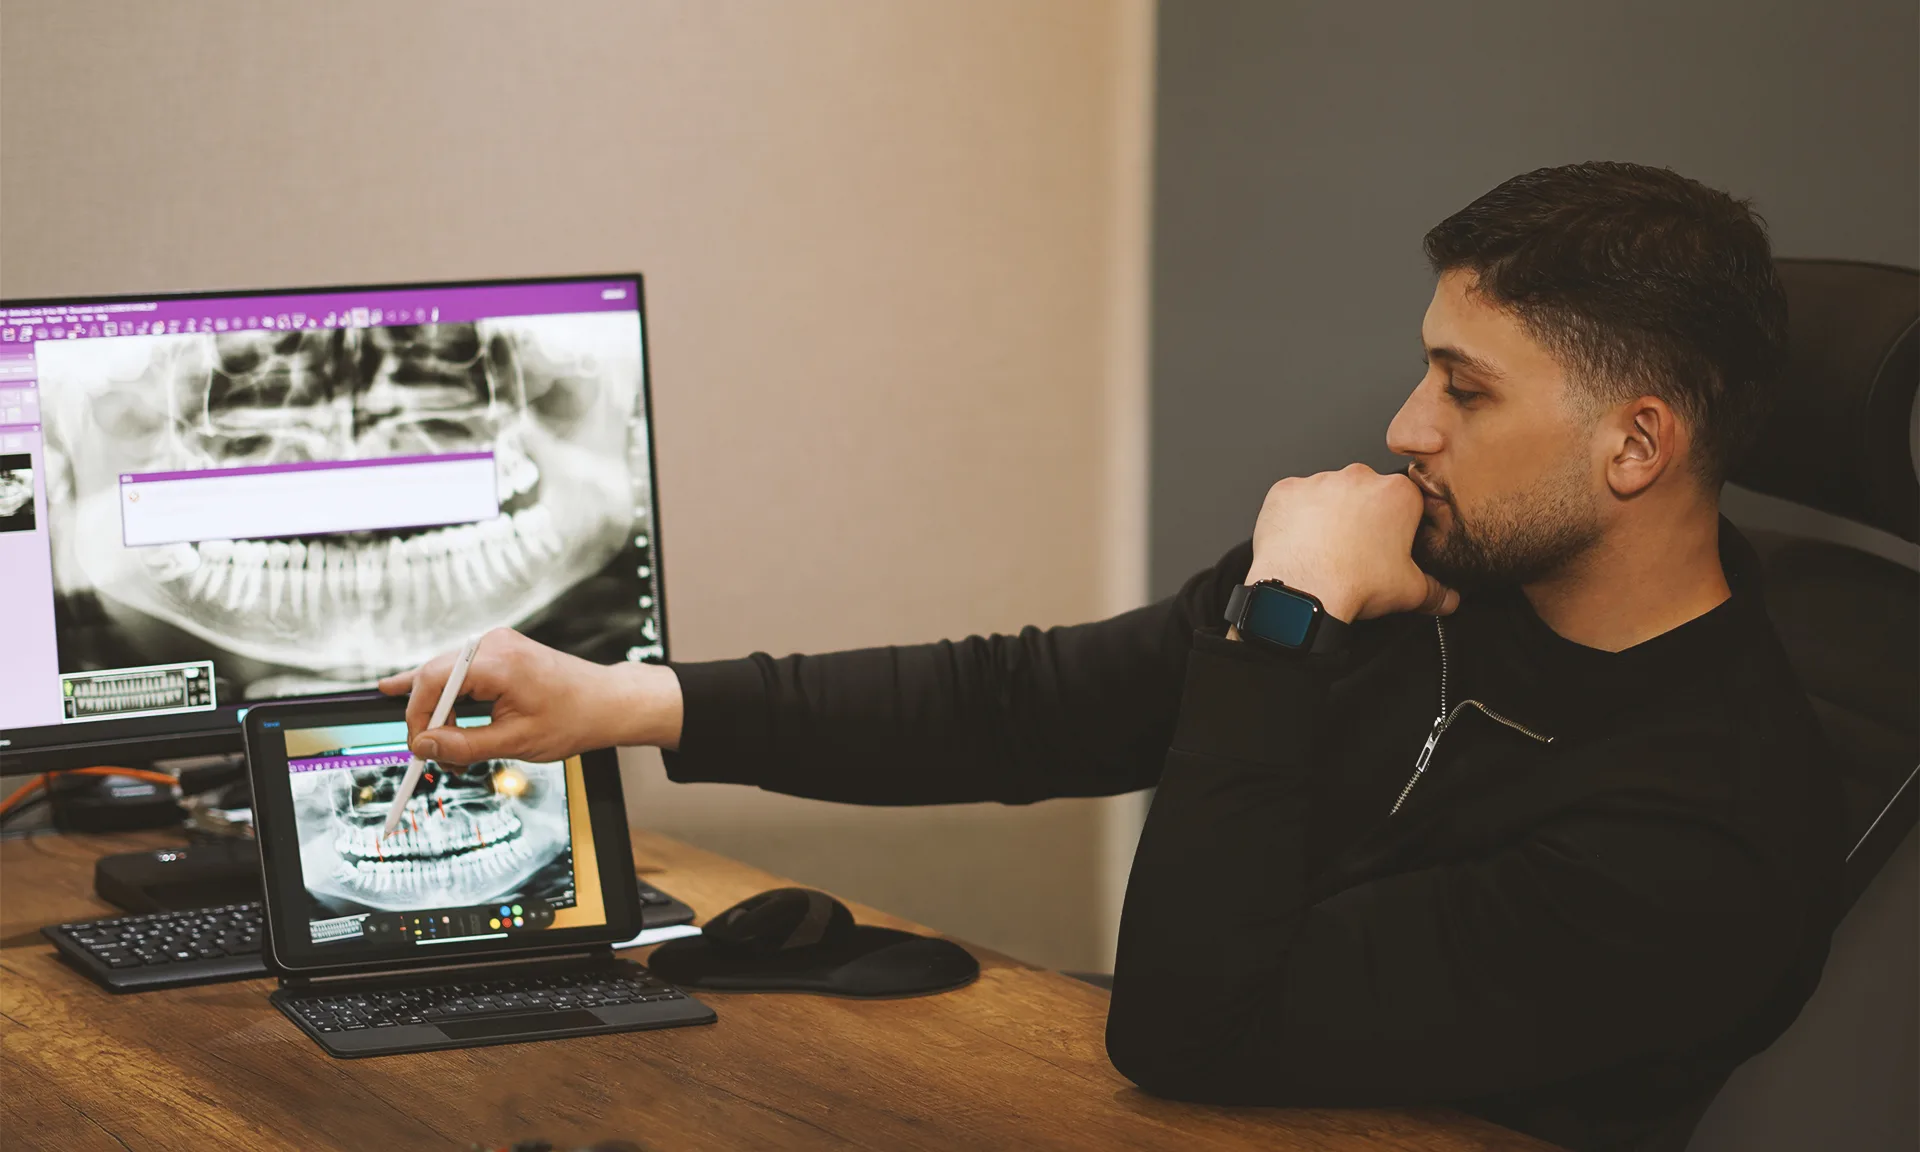
Send the original image files rather than screenshots, and avoid photographing a screen that is displaying an X-ray. If you are sending by messaging app, be aware that some apps compress images; if you are asked for better quality, send as a file or by email instead.
A one-line note with each set helps more than it sounds: what you want looked at, when the problem started, and whether anything hurts. Preparing records more generally, including getting X-ray files out of another clinic's system, is covered in how to prepare photos and X-ray files for an online dental assessment.
What a Photograph Genuinely Shows
- Tooth position, spacing, rotation and length
- Visible colour and surface appearance
- The gum line, and how much of it shows when you smile
- Obvious fractures, missing teeth, and visible existing dental work
- How much tooth shows in a natural smile, which matters for cosmetic planning
That is a real amount of information, and it is why clinics ask for photographs before anything else.
What It Cannot Show
- What is underneath a crown, a filling or a bridge
- Whether a tooth is restorable
- Bone height, width or density
- Gum pocket depths and attachment levels
- Whether a tooth is alive, infected or cracked below the surface
- How your bite functions in movement
This is why the information you receive after sending photographs is preliminary, and why a final treatment plan is confirmed only after an in-person examination with imaging where your case needs it. The distinction is set out in preliminary information versus a final treatment plan.
A Note on Privacy
Photographs of your mouth are health information. It is reasonable to ask who will see them, how long they are kept, and how to request deletion. Ask before you send if it matters to you; the answer is also a small test of how the clinic handles records.
Conclusion
Two good photographs do more than twenty poor ones, and they cost you nothing but ten minutes near a window. Send them with a sentence about what you want looked at, and expect a preliminary answer — which is all a photograph can honestly support.
Ready to send yours? Send them on WhatsApp or request an appointment.